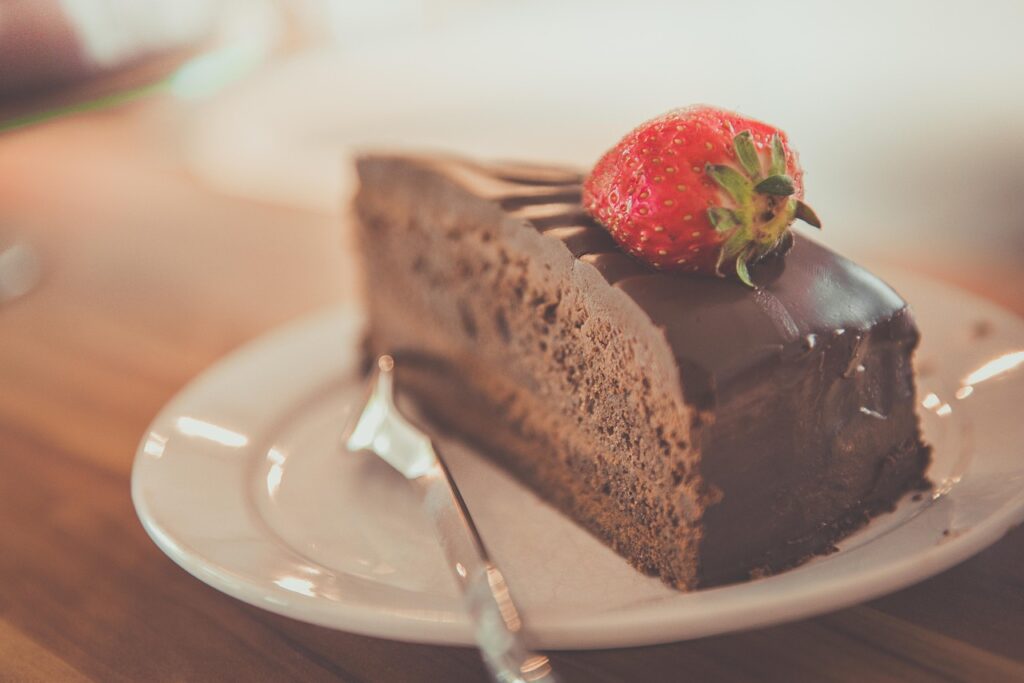
If you’re after a cake that’s deep, dark, and intensely chocolatey, this is the one. The combination of both cocoa powder and real dark chocolate gives the sponge a rich, layered flavor. Sunflower oil ensures the cake stays moist for days, and the frosting is a simple yet luxurious mix of just chocolate and butter—no icing sugar or cream cheese to distract from the chocolatey goodness. The four layers may seem fancy, but they’re easy to achieve with a sharp serrated knife.
Ingredients
For the Cake:
-
275g all-purpose flour
-
3 tbsp cocoa powder (unsweetened)
-
1½ tsp baking soda
-
1½ tsp baking powder
-
200g sugar
-
3 tbsp golden syrup (or light corn syrup)
-
3 extra-large eggs, beaten
-
225ml sunflower oil
-
225ml milk
For the Frosting:
-
450g dark chocolate (around 70% cocoa solids)
-
200g unsalted butter
To Finish:
-
55g white chocolate, grated
-
55g dark chocolate, grated
Directions
-
Preheat the Oven:
Set your oven to 160°C (325°F). Grease and line the bottoms of two 8-inch round cake tins. -
Make the Batter:
In a large bowl, sift together the flour, cocoa powder, baking soda, and baking powder. Stir in the sugar.
Create a well in the center and add the golden syrup, beaten eggs, oil, and milk. Stir everything together with a wooden spoon until smooth and glossy. -
Bake the Cake:
Divide the batter evenly between the two prepared tins and bake for about 35 minutes or until the cakes have risen and are springy to the touch. Let the cakes cool in their tins for 5 minutes, then transfer them to a wire rack to cool completely. -
Slice the Cakes:
Once the cakes have cooled, carefully slice each one in half horizontally to create four thin layers. -
Make the Frosting:
Melt the dark chocolate gently in a heatproof bowl over barely simmering water (don’t let the bowl touch the water). Once melted, remove it from the heat. Stir in the butter until completely smooth and combined. Let it cool slightly—ideally, it should thicken a little before you use it. -
Assemble the Cake:
Place one layer of cake on a wire rack set over a tray. Spread a bit of frosting between each layer. Pour the remaining frosting over the top and smooth it out with a spatula, ensuring it coats the top and sides evenly. -
Decorate:
Grate both white and dark chocolate and sprinkle over the top of the cake while the frosting is still soft.
Tips from My Kitchen
-
Melting Chocolate: I always melt my chocolate off the heat once it’s halfway done—this way, the residual heat finishes the job without overheating the chocolate, which can cause it to split.
-
Slicing Layers: A serrated bread knife is your best friend for slicing the cakes into even layers. It gives you more control and minimizes crumbling.
-
Frosting Tip: Let the frosting cool a little before pouring it over the cake. It’s easier to spread and coats better when it’s slightly thickened, rather than when it’s still runny.
Storage & Serving
-
Room Temperature: Store the cake in an airtight container in a cool place (not in the fridge) for up to 3 days. Let it come to room temperature before serving.
-
Freezer: Slice the cake, wrap the pieces, and freeze for up to 3 months. Thaw at room temperature. The frosting holds up surprisingly well.
-
Serve With: A strong black coffee or a scoop of unsweetened whipped cream to balance the cake’s richness.
Frequently Asked Questions
-
Q: Can I make the frosting ahead of time?
A: Yes, but the frosting will firm up in the fridge. Just bring it back to room temperature and beat it again before using. -
Q: Why is my frosting dull instead of glossy?
A: This usually happens when the chocolate is overheated. Be sure to melt it gently and never let the water boil beneath the bowl. -
Q: Can I skip slicing the layers?
A: You can! You’ll end up with a taller two-layer cake with thicker filling. It will still be delicious, just not as dramatic.
Try More of Mary Berry’s Recipes:
-
Mary Berry Malted Chocolate Cake
-
Mary Berry American Chocolate Cake
-
Mary Berry Milk Chocolate Cake